We are at it again making beautiful nails, this time creating a beach waves nail art in a video that aired live on Facebook. This pretty design will make you feel as if you’re relaxing by the ocean. If you are craving the sun, sand, and beachy waves check out the full instructions and video tutorial below to make your beautiful beach waves nail art. This nail art design is perfect for summer! Check out the full details below!
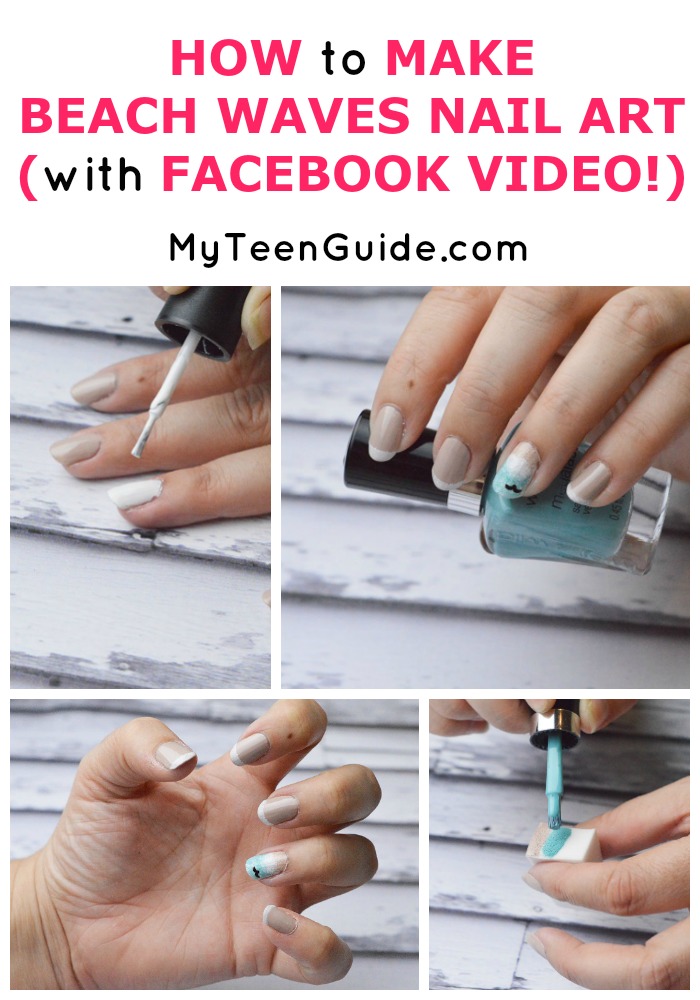
How To Make Beach Waves Nail Art (With Facebook Video!)
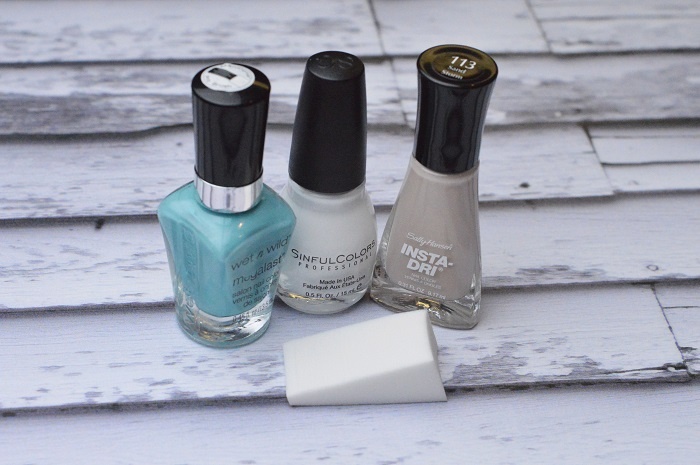
This design doesn’t require many supplies. Here are the nail polish colors and tools we used to make our nail art design. Feel free to substitute polishes that are similar beachy colors, your look will be just as fab!
Beach Waves Nail Art Tools:
- Makeup Wedge
- Dotting Tool
- Clear Coat
- 3 “Beachy” colored nail polishes
Beach Waves Nail Art Directions:
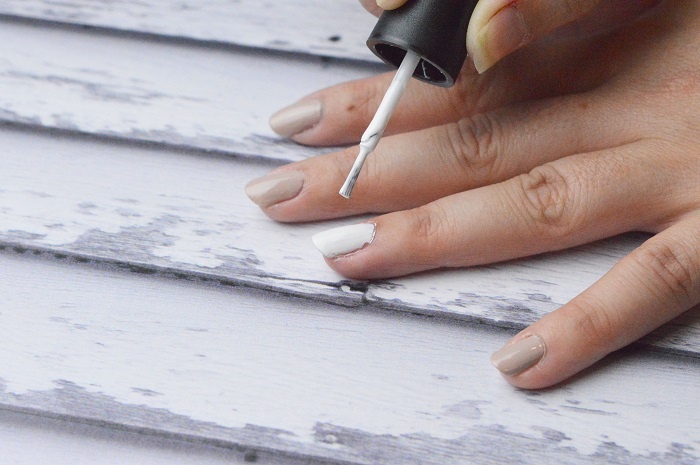
Paint four of your nails in a light brown/tan/sandy color of your choosing. Do 2-3 coats for optimum coverage. On the last nail, you will put at least 1-2 coats of white polish on it. I usually paint my ring finger as my white accent nail.
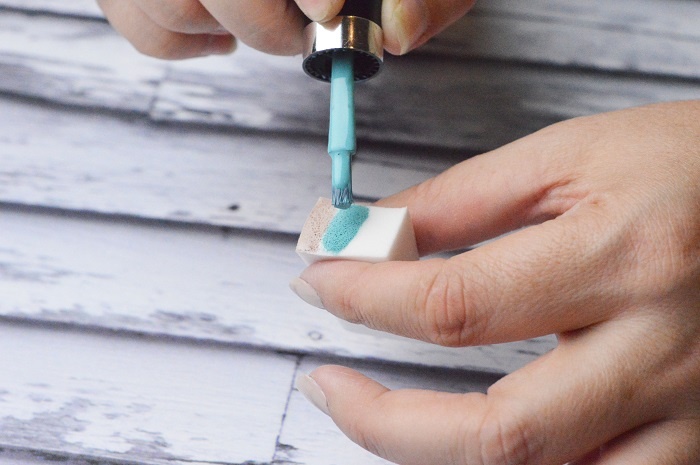
Once nails are dry, take your makeup sponge and put a generous amount of tan, blue, and then white in lines as the photo shows. You will then dab this onto your one white nail. Don’t take too long or the polish will dry on your sponge. (You can also see the video at the bottom of the post to see exactly how we did this step!)
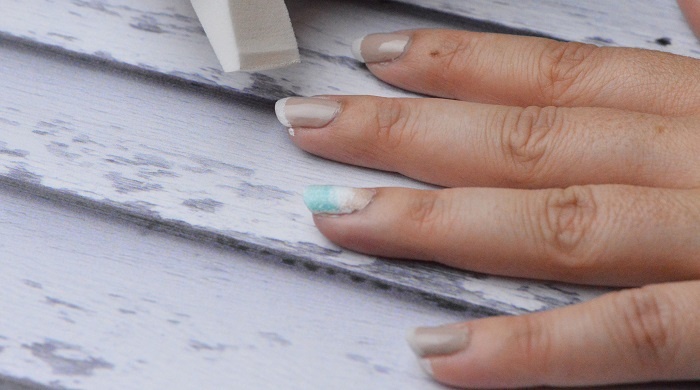
Paint the sponge again, this time just with white and dab it on the tips of the four tan nails.
Once your nails are dry, use your dotting tool and dab it in a bit of black polish to make your bird. Lightly touch it to the nail, taking care not to press too hard, make an “m” shape to signify a bird. If need be, go over the bird multiple times with more polish to make it stand out more. This makes the bird look like it’s flying in the sky above the ocean.
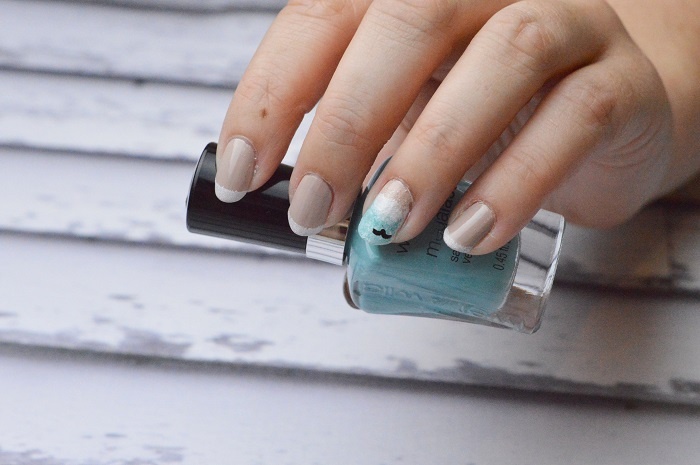
Don’t forget to apply a clear coat on top of your design once it dries. This is very important to make sure the design lasts on your nails!
Want to see this design come together? See the full video tutorial! We produced a Facebook Live video where we featured this design!
If you liked this nail art design, you can paint right along with us during the next Facebook live video! Simply Like us on Facebook and subscribe to our live videos so you can follow along as we teach you how to create more beautiful nail art every Tuesday at 8 pm.
Will you make this beautiful beach waves nail art? What other simple nail art designs would you like to see us create on Facebook live video? Tell me in the comments!